

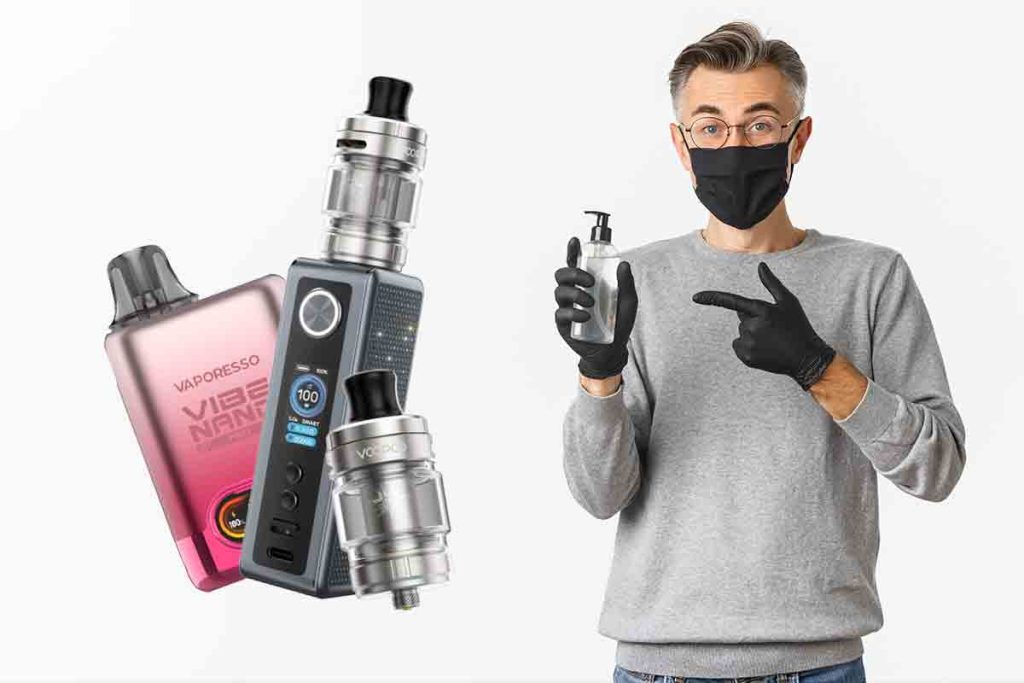
Why bother cleaning without alcohol?
Most cleaning guides for vape pens default to isopropyl alcohol, and honestly, it works great. But there are legitimate reasons to skip it. Maybe you ran out and the stores are closed. Maybe you don’t like the idea of a petroleum-derived solvent touching something you inhale from. Or maybe your device has plastic or acrylic components that discolor or crack when exposed to high-concentration IPA.
Whatever your reason, the good news is that alcohol-free cleaning methods do work. They take a bit more effort in some cases, but they can be just as effective—and they’re gentler on your hardware. This guide walks through six tested methods, explains when each one makes sense, and covers the specifics for different vape pen types.
What builds up inside a vape pen?
Before diving into cleaning methods, it helps to understand what you’re actually cleaning. Vape pens accumulate different types of residue depending on what you’re vaping:
- E-liquid residue — A sticky, caramelized layer that forms when sweeteners in e-juice get heated repeatedly. This is the most common buildup in nicotine vape pens and pod systems.
- Concentrate residue — Thick, waxy, and extremely sticky. Cannabis oils and wax concentrates leave behind a gummy film that’s harder to remove than e-liquid gunk.
- Dust and pocket lint — The 510 threading and airflow holes are magnets for debris, especially if you carry your pen loose in a pocket or bag.
- Condensation — Vapor that cools and re-liquifies inside the mouthpiece and chimney, mixing with whatever residue is already there.
Each type of buildup responds differently to various cleaning approaches. That’s why one method might work great for an e-liquid pen but fall short on a concentrate device.
Six ways to clean your vape pen without alcohol
1. Warm water and mild dish soap
This is the simplest method and the one most people start with. A few drops of mild dish soap in warm (not boiling) water creates a surfactant solution that lifts residue from glass, metal, and ceramic parts.
How to do it: Disassemble your vape pen completely. Submerge the tank, mouthpiece, and any removable non-electronic parts in warm soapy water for 10 to 15 minutes. Use a soft-bristled toothbrush or pipe cleaner to scrub away residue, paying extra attention to the chimney and threading. Rinse thoroughly under running water until no soap residue remains—any leftover detergent will affect flavor. Air dry completely before reassembling.
Best for: E-liquid tanks, glass components, metal mouthpieces. Works on both nicotine and concentrate pens.
Limitations: Won’t dissolve heavy wax or resin buildup on its own. Not suitable for batteries or any electronic component.
2. White vinegar solution
Vinegar’s acidity makes it a decent degreaser. A 1:1 mixture of white vinegar and warm water can break down sticky e-liquid residue and lighter concentrate buildup.
How to do it: Mix equal parts white vinegar and warm water in a small bowl. Soak removable parts for 15 to 20 minutes. Scrub with a cotton swab or soft brush, then rinse thoroughly—you don’t want your next session tasting like salad dressing. For stubborn spots, apply undiluted vinegar directly with a cotton swab and let it sit for a few minutes before scrubbing.
Best for: E-liquid residue, light to moderate buildup. The acidic properties also help with mineral deposits from hard water.
Limitations: The smell lingers if you don’t rinse well. Not as effective on thick, waxy concentrates.
3. Baking soda paste
Baking soda is mildly abrasive and alkaline, which means it can scrub away residue without scratching most surfaces. It’s particularly useful for stubborn spots that soap and water alone can’t handle.
How to do it: Mix baking soda with a small amount of water to form a thick paste. Apply the paste to residue-covered areas with a cotton swab or soft brush. Let it sit for 5 to 10 minutes, then scrub gently. Rinse thoroughly. For an extra cleaning boost, you can combine this with the vinegar method—add baking soda to the vinegar soak and let the fizzing action help lift residue.
Best for: Stubborn e-liquid caramelization, crusty buildup on threading, and general surface cleaning.
Limitations: The abrasiveness can scratch acrylic or polycarbonate components. Don’t use on clear plastic tanks.
4. Coconut oil for wax and concentrate pens
This one sounds counterintuitive—adding oil to clean something oily—but it works on the same principle as oil cleansers in skincare: similar substances dissolve each other. The medium-chain fatty acids in coconut oil break down the waxy lipids in concentrate residue.
How to do it: Warm a small amount of coconut oil until it’s liquid (you can gently heat the affected part with a hair dryer on low to help). Apply the oil to the sticky areas and let it sit for 5 to 10 minutes. The residue will start to loosen. Wipe away with a cotton swab or soft cloth. Follow up with a warm soapy water wash to remove the coconut oil itself. Make sure everything is completely dry before reassembling.
Best for: Concentrate and wax vape pens with stubborn, sticky residue. Popular in cannabis vaping communities.
Limitations: You need to wash off the coconut oil afterward, so it adds a step. Not ideal for e-liquid pens where the residue isn’t lipid-based.
5. Steam cleaning
Steam is surprisingly effective at loosening residue without any cleaning agents at all. The heat and moisture combination softens sticky buildup, making it easier to wipe away.
How to do it: Boil water in a kettle or pot. Hold the removable parts of your vape pen (never the battery) over the steam using tongs, turning them to expose all surfaces. After 30 to 60 seconds of steam exposure, wipe the softened residue with a paper towel or cotton swab. For tight spaces like the chimney, use a pipe cleaner right after steaming while the residue is still soft.
Best for: Quick cleaning of glass and metal components. Good for freshening up between deeper cleaning sessions.
Limitations: Risk of burns if you’re not careful. Not suitable for plastic parts that could warp under heat. Steam can damage some adhesives used in cartridge assembly.
6. Ultrasonic cleaner
If you’re willing to invest in a tool, small ultrasonic cleaners (often marketed for jewelry or retainer cleaning) use high-frequency sound waves to create microscopic bubbles that dislodge residue from surfaces—including areas you can’t reach with a brush.
How to do it: Fill the ultrasonic cleaner with warm water (you can add a drop of dish soap). Place the disassembled, non-electronic parts in the basket. Run a 3 to 5 minute cycle. Remove, rinse, and dry thoroughly. Most users report excellent results for tanks, mouthpieces, and even coils with moderate buildup.
Best for: Thorough cleaning of all non-electronic components. Especially effective for intricate parts with hard-to-reach crevices.
Limitations: Requires purchasing an ultrasonic cleaner (basic models start around $25 to $40). Not all components are safe for ultrasonic cleaning—check manufacturer guidelines.
Cleaning by device type: What’s different?
510-thread vape pens
These are the most common type. The key areas to clean are the 510 threading (where residue causes connection issues), the mouthpiece, and the tank or cartridge. For threading, a dry cotton swab is often enough for regular maintenance. For deeper cleaning, a damp swab with soapy water works—just make sure the threading is completely dry before reattaching the cartridge. If your pen isn’t firing properly, dirty threading is the first thing to check.
Pod systems
Pod systems are simpler to clean because there’s less to disassemble. Remove the pod, wipe the contact points with a dry cotton swab, and rinse the mouthpiece area under warm water. Don’t submerge the pod itself if it still contains e-liquid. The battery contacts should only be cleaned with a dry cloth or swab—never with liquid.
Dry herb vaporizers
These need a different approach because the residue is primarily plant material, not liquid. The heating chamber and screen collect baked herb particles that are easier to brush out than to wash. Use the included brush (most dry herb vapes come with one) after every session. For deeper cleaning, the screen and mouthpiece can be soaked in warm soapy water or a vinegar solution. The heating element itself should only be cleaned according to the manufacturer’s instructions—some can be wiped with a damp swab while cool, others shouldn’t be touched at all.
Concentrate pens and dab pens
These accumulate the thickest, stickiest residue and are the hardest to clean without alcohol. The coconut oil method is your best bet here. For the atomizer, gentle heat (running a low-temperature cycle) followed by swabbing with a cotton tip can melt and remove residue. Some concentrate pens have removable atomizer cups that can be soaked.
What NOT to do
- Don’t submerge batteries or electronics. This should be obvious, but it’s the most common way people ruin vape pens. Only the battery contacts should be cleaned, and only with a dry swab.
- Don’t use boiling water on plastic components. It will warp them. Warm to hot tap water is sufficient.
- Don’t reassemble while wet. Trapped moisture causes connection problems and can promote bacterial growth inside the device.
- Don’t scrub heating elements aggressively. Coils and wicks are fragile. If a coil is too gunked up to clean gently, it’s time to replace it.
- Don’t use acetone, nail polish remover, or bleach. These chemicals are toxic and leave residues you definitely don’t want to inhale.
How often should you clean your vape pen?
It depends on how heavily you use it and what you’re vaping. Here’s a practical guideline:
- Light use (a few times a week): Deep clean every 2 to 3 weeks, with a quick wipe-down after each session.
- Daily use: Deep clean weekly. Wipe the mouthpiece and threading daily.
- Heavy use (multiple sessions per day): Deep clean twice a week. Concentrate users may need to clean the atomizer after every session.
Signs that you’re overdue for a cleaning: muted flavor, harsh or burnt taste, weak vapor production, sticky threading, or visible residue on the mouthpiece.
Maintenance tips to reduce how often you need deep cleaning
- Wipe the mouthpiece after every use with a dry cloth or tissue.
- Store your vape pen upright to prevent leaks into the battery compartment.
- Keep it in a case or pouch to reduce dust and lint exposure.
- Don’t over-tighten cartridges—this damages threading and creates gaps where residue accumulates.
- Switch coils or pods before they get completely gunked. A slightly used coil is much easier to clean than a destroyed one.
- If you switch flavors frequently, rinse the tank between e-liquids to avoid “flavor ghosting.”
Related guides
- How to Clean a Vape: Complete Tank, Pod & Disposable Guide
- What Are Vape Pens? A Comprehensive Guide
- What Is a Disposable Vape? Types, Lifespan & 2026 Guide
- Best Disposable Vapes in 2026 — Tested, Ranked & Reviewed
- Why Is My Vape Lighting Up but Not Hitting? (2026 Fix Guide)
FAQ
Can I clean my vape pen with just water?
Yes, warm water alone can handle light residue and is fine for regular maintenance rinses. For anything more than surface-level buildup, you’ll need to add soap, vinegar, or another cleaning agent.
Is it safe to use vinegar to clean a vape pen?
Yes, diluted white vinegar is safe for glass, metal, and ceramic parts. Just rinse thoroughly afterward to remove the smell and taste. Don’t use vinegar on natural rubber seals, as the acid can degrade them over time.
Can I use hydrogen peroxide instead of alcohol?
Hydrogen peroxide is a disinfectant, not a degreaser. It won’t effectively dissolve the types of residue that build up in vape pens. Stick to the methods outlined above.
What about using vodka or other spirits?
High-proof vodka (100 proof or above) can work as a solvent substitute for isopropyl alcohol, since it contains enough ethanol to break down residue. It’s more expensive and less effective than IPA, but it’s an option if that’s what you have. Make sure to rinse thoroughly afterward.
Will cleaning without alcohol damage my vape pen?
Not if you follow the guidelines above. In fact, alcohol-free methods are gentler on plastic and acrylic components than high-concentration IPA. The main risk with any cleaning method is getting moisture into electronic parts or reassembling before everything is dry.
My coil is completely black and gunked up. Can it be saved?
Honestly, probably not. If the wicking material is dark and crusty, it’s past the point of cleaning. Coils are consumable parts—most need replacing every 1 to 2 weeks depending on use. Cleaning can extend their life slightly, but a truly burnt coil needs to be replaced.


One Comment