

Vaping devices—whether used for cannabis, CBD, or nicotine—require regular cleaning to maintain optimum performance, flavor, and longevity. Over time, residue from oils and concentrates can build up inside your vape, affecting airflow and even compromising your health. In this guide, we’ll show you how to clean a vape using alternative methods and best practices that do not rely solely on isopropyl alcohol. Our step-by-step approach covers everything from disassembly and cleaning of each component to proper maintenance and storage. Whether you’re a daily vaper or an occasional user, following these tips will ensure your device always delivers a pure, smooth draw.
Why Is It Important to Clean a Vape?
Regular cleaning is a key aspect of vape maintenance. When you learn how to clean a vape, you protect your device from residue buildup that can lead to:
- Clogged Airflow and Reduced Vapor: Over time, oils and other residues accumulate on coils, screens, and inside the cartridge. This can diminish flavor and make it harder to inhale (This is one of the common complaints people have.).
- Health and Safety Risks: Residue buildup can harbor bacteria or degrade over time, potentially affecting the purity of the vapor you inhale.
- Shortened Device Lifespan: Regular cleaning helps prevent corrosion and ensures that battery connections and heating elements remain in optimal condition.
Understanding these benefits makes it clear why learning how to clean a vape is essential for every vaper.
Understanding Your Vape: Components
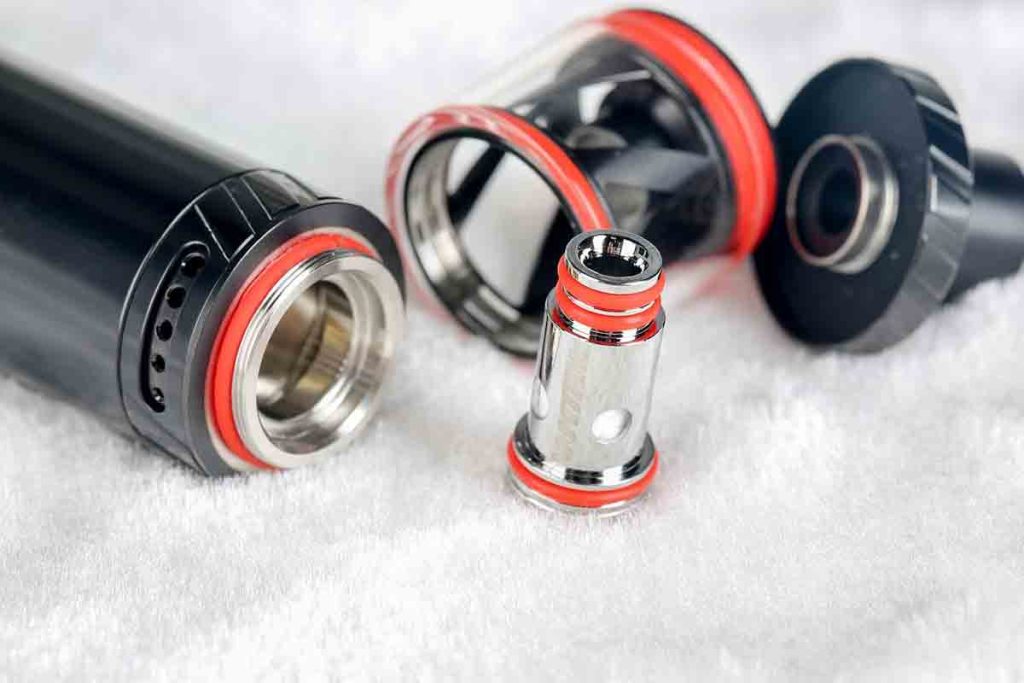
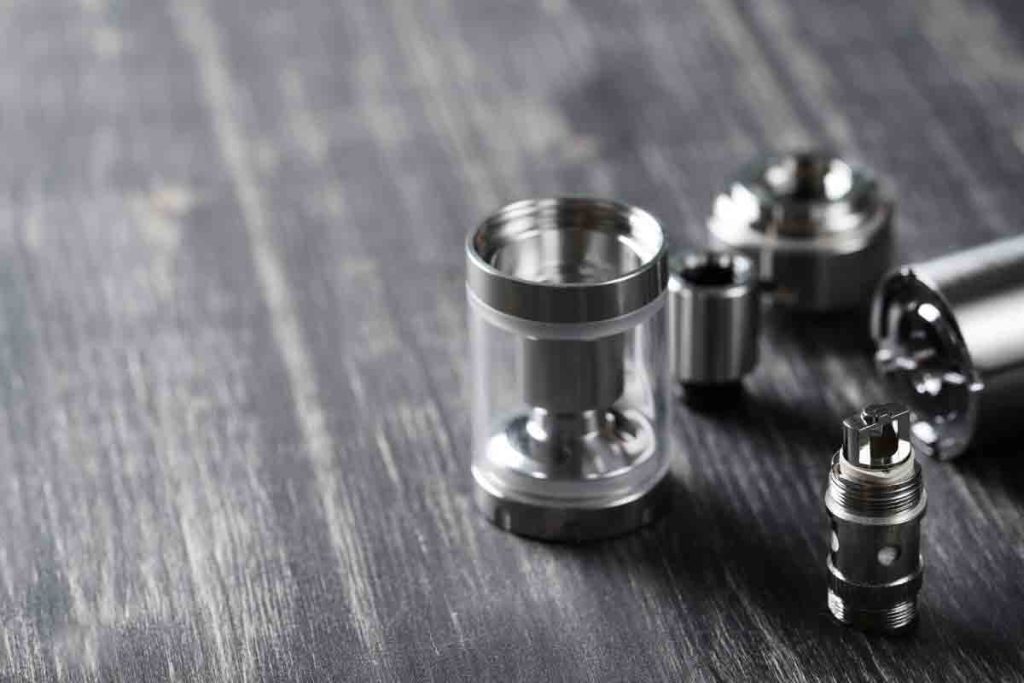
Before you begin the cleaning process, it is important to understand the different parts of a vape and the specific cleaning focus that each brings. Most vape devices consist of the following components:
- Cartridge/Mouthpiece: Holds the e-liquid or concentrate and is directly in contact with your mouth.
- Coils and Atomizers: These heat the e-liquid to produce vapor. Residue buildup here can affect both flavor and efficiency.
- Battery and Threading: These provide power and a secure connection between the vape’s components.
- Airflow System: Proper airflow is crucial for a smooth hit; any blockage can lead to a harsh or diminished vaping experience.
Each part may require a slightly different cleaning method. For example, while the cartridge may tolerate a gentle soak in warm soapy water or a vinegar solution, the battery should never be immersed. Always consult your device’s manual for specific cleaning recommendations.
Tools and Materials for Cleaning Your Vape
When you decide how to clean a vape, using the right supplies makes all the difference. Here’s a list of recommended tools and materials:
- Warm Water and Mild Dish Soap: A gentle solution for removing light residue.
- White Vinegar or Diluted Lemon Juice: Natural degreasers that help break down stubborn buildup.
- Coconut Oil: Useful for loosening particularly sticky residue on glass or metal surfaces.
- Soft-Bristled Brush or Toothbrush: Ideal for scrubbing delicate parts without causing damage.
- Cotton Swabs/Q-tips: Perfect for cleaning small areas such as the mouthpiece, threading, and coils.
- Paper Towels or Lint-Free Cloths: For drying and wiping off excess moisture.
- Small Bowls or Containers: To hold your cleaning solutions and to soak removable parts.
- Safety Pin or Small Unclogging Tool: To clear out any blocked airflow holes.
These materials are chosen not only for their cleaning effectiveness but also for their ability to keep your vape safe and functioning properly. Using eco-friendly and non-abrasive cleaning supplies is key to preserving the flavor and performance of your device.
Step-by-Step Guide: How to Clean a Vape
Below is a comprehensive, step-by-step process for cleaning your vape. This guide covers disassembly, cleaning each component, rinsing, drying, and reassembling your vape for optimal performance.
1. Preparing to Clean Your Vape
1.1 Disassemble Your Vape
Before you clean your vape, ensure it is powered off. Carefully take apart your vape pen by removing the cartridge, mouthpiece, battery, and any other detachable parts. Always consult your user manual to avoid damaging any component. Disassembling your vape completely exposes all the areas that can accumulate residue, ensuring a thorough clean.
1.2 Safety and Precautions
- Keep Electronics Dry: Never immerse the battery or any electronic parts in water or cleaning solutions.
- Use a Clean, Well-Ventilated Workspace: This minimizes the risk of inhaling cleaning vapors and allows parts to dry properly.
- Follow Manufacturer Guidelines: Check your device’s manual for any specific instructions or warnings regarding cleaning.
2. Cleaning the Vape Cartridge and Mouthpiece
2.1 Soaking and Scrubbing
Prepare a cleaning solution using warm water mixed with a few drops of mild dish soap or dilute white vinegar/lemon juice with water. If you have stubborn residue:
- Coconut Oil Alternative: Apply a small amount of coconut oil to loosen hardened buildup before scrubbing.
Place the removable parts—such as the cartridge and mouthpiece—in the solution for 10 to 15 minutes. Then, gently scrub them using a soft-bristled brush or cotton swabs. Pay special attention to small crevices and areas where residue commonly accumulates.
2.2 Rinsing Thoroughly
After scrubbing, rinse each part under warm running water. Ensure that no soap, vinegar, or oil remains, as any residue could alter the flavor of your vapor. Proper rinsing is critical for maintaining a clean taste and ensuring your vape functions optimally.
3. Cleaning the Vape Coils and Airflow Pathways
3.1 Cleaning Non-Submersible Components
Coils and wicks are delicate and often should not be soaked for long periods:
- Gently Brush the Coils: Use a toothbrush or pipe cleaner dipped lightly in your cleaning solution to remove buildup. For non-removable coils, take extra care to avoid saturating the wick.
- Airflow Cleaning: Use a cotton swab to gently clean any blocked airflow holes. If your device has replaceable coil heads, sometimes replacement is the better option.
3.2 Rinse and Remove Residue
After cleaning, briefly rinse the coils with warm water. Shake off any excess water gently and use a paper towel to dry the coil as much as possible. Leaving a coil wet for too long can cause oxidation, though many experts note that a thorough drying is sufficient to prevent issues.
4. Cleaning the Battery and Exterior Parts
4.1 Wiping Down the Battery and Threading
- External Wipe: Use a damp cloth or cotton swab with a drop of mild dish soap (or warm water) to clean the battery’s exterior and the threading where the cartridge attaches.
- Avoid Submersion: Do not submerge the battery or any part that houses electrical components, as this can lead to malfunction or damage.
4.2 Cleaning the Charging Port
Gently use a soft, dry brush or cotton swab to remove any lint or debris from the charging port. This ensures that your vape charges properly and maintains a strong connection.
5. Rinsing, Drying, and Reassembling
5.1 Thorough Rinsing
Once all parts have been scrubbed and cleaned, rinse every component thoroughly under warm running water. Make sure that all cleaning solutions have been removed from every nook and cranny.
5.2 Complete Drying
Dry each component carefully using paper towels or a lint-free cloth. Allow the parts to air dry completely in a well-ventilated area before reassembling. This step is essential to prevent any water or cleaning solution from remaining on the device, which might impact performance or taste.
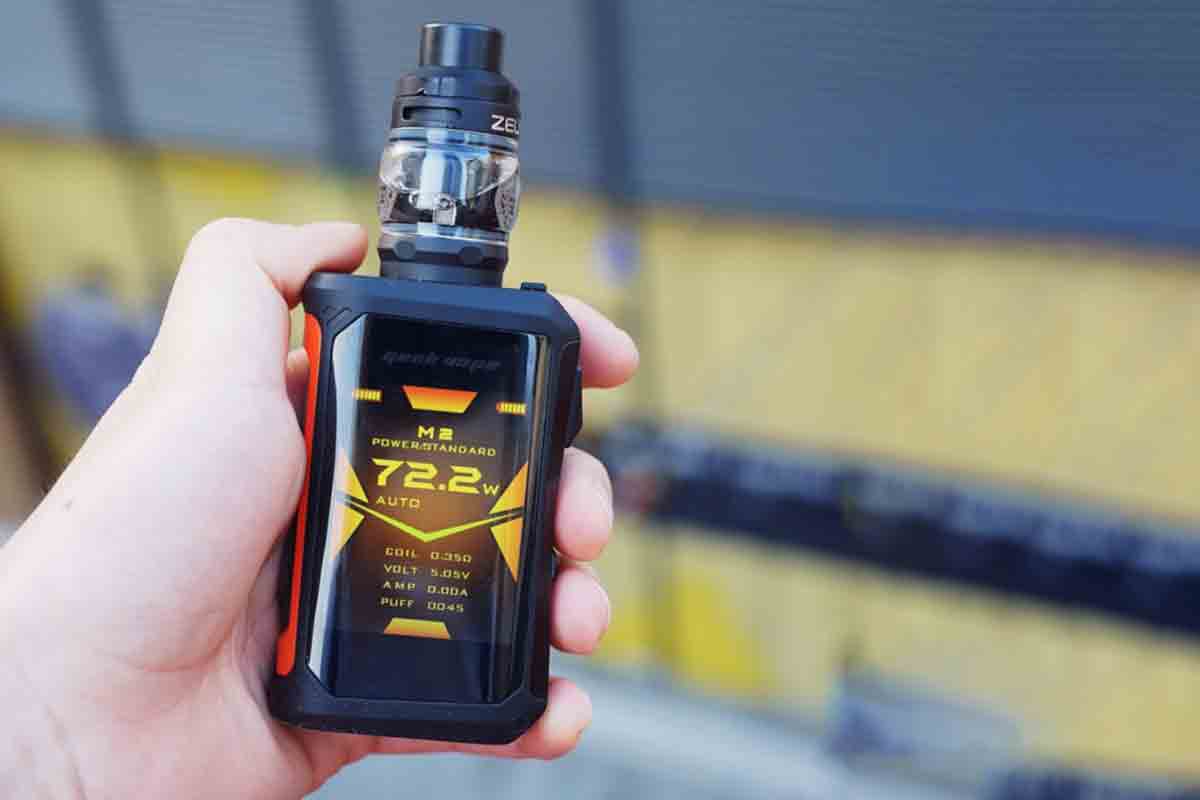
5.3 Reassembly and Testing
After ensuring that all parts are dry, reassemble your vape pen carefully. Once reassembled, turn the device on and take a test puff. This will confirm that all residue has been removed and that the device is functioning properly.
Maintenance Tips and Best Practices for Vape Cleaning
Adopting a regular cleaning routine can save you money and improve your vaping experience. Here are some best practices to maintain your vape:
Establish a Regular Cleaning Schedule
- For Heavy Users: Clean your vape weekly.
- For Light Users: Monthly deep cleaning may suffice.
- Routine Wiping: After each use, quickly wipe down the mouthpiece and exterior with a dry microfiber cloth or cotton swab to remove surface residue.
Preventing Future Buildup
- Immediate Wipe-Down: Clean visible residue immediately after use.
- Store Properly: Keep your vape in a cool, dry place, away from direct sunlight. Storing your device upright can help prevent leaks.
- Avoid Cross-Contamination: If you switch between different flavors or oils, clean your vape thoroughly between uses to maintain the intended taste profile.
Do’s and Don’ts of Vape Cleaning
- Do: Use gentle cleaning agents and tools. Follow manufacturer instructions.
- Don’t: Submerge batteries or other non-detachable electronic components in liquid. Avoid abrasive tools that might scratch or damage surfaces.
FAQs
FAQ 1: How often should I clean my vape?
Heavy users should clean their vape at least once a week to prevent buildup, while occasional users can get by with a monthly cleaning. Signs that cleaning is necessary include reduced airflow, off flavors, and diminished vapor production.
FAQ 2: What is the best cleaning solution for my vape?
For a thorough clean, a combination of warm water with a few drops of mild dish soap or a diluted solution of white vinegar or lemon juice works well. For stubborn residue, using a small amount of coconut oil to loosen buildup before scrubbing can be effective.
FAQ 3: Can I clean my vape using water alone?
Water alone can help remove light residue; however, for a complete cleaning, especially when dealing with oily or sticky buildup, using a mild detergent or vinegar solution is recommended. Always rinse thoroughly to avoid affecting the vapor’s taste.
FAQ 4: Will cleaning my vape improve its performance?
Yes. Regular cleaning restores proper airflow, enhances flavor, and extends the lifespan of your device. A well-maintained vape performs better and provides a safer, more consistent vaping experience.
Conclusion
Learning how to clean a vape properly is essential for ensuring a consistent, enjoyable, and safe vaping experience. By understanding the importance of cleaning, knowing your device’s components, and using alternative cleaning methods such as warm soapy water, diluted vinegar or lemon juice, and even coconut oil for stubborn buildup, you can maintain optimal performance without relying solely on isopropyl alcohol.
Adopt a regular cleaning schedule, follow safety precautions, and always rinse and dry your components completely before reassembling your device. With these best practices in place, you’ll not only prolong the life of your vape but also enjoy the best possible flavor and performance every time you vape
By following the detailed steps and tips outlined in this article, you can keep your vape clean, maintain its performance, and enjoy a better, more flavorful vaping experience every day.


Thanks for your guide, it helped me a lot.